1) first, download the program, through which will be replaced. Download Spark IV. Unpack it somewhere and run.
2) Next, click the button «Browse» and look for the file vehicles.img at:
[Ваш_Диск]\GTAIV\pc\models\cdimages\vehicles.img
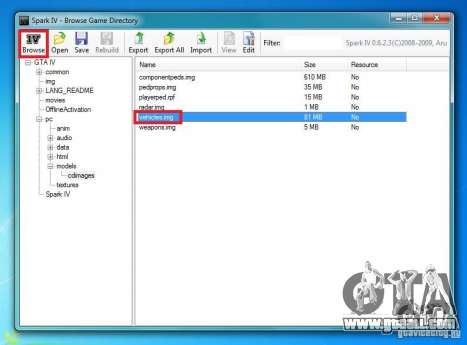
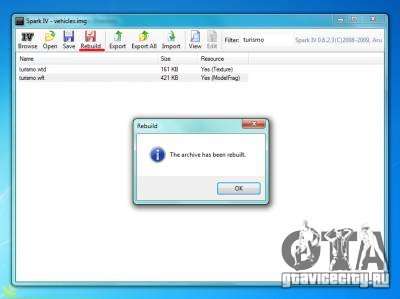
3) Open it. Next you need to find the machine files you want to replace. Just type in a name in the Filter field in the upper right corner (turismo, for example). By the way, not necessarily to change Turismo on Turismo. In the case when the mod offers you replace the already replaced your model, you can easily replace a new model to any other standard model of the game. It is necessary that this was one class of transport (two-door, opening headlights, four-door etc).
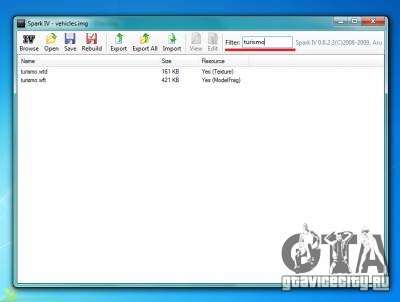
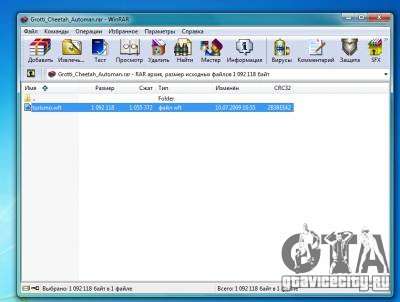
- Click on turismo.wft in Spark'e;
- Click «Import»;
- In the opened window, look for the file from the archive with скачанным auto;
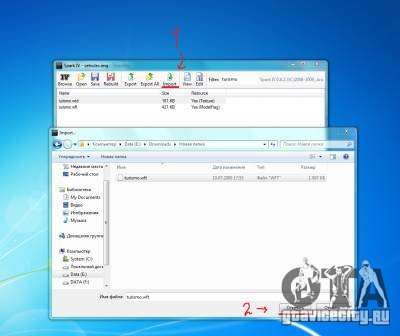
- Click «Rebuild» (window will pop-up);
5) In some cases, you have to replace the color management configuration and use Notepad. This item is optional. And write it in the General form of the room. This item, if necessary, is always mentioned in the ReadMe to any fashion that you downloaded, and if you want you can easily do it yourself. For GTA 4 Episodes from Liberty City configuration files are encrypted. You can always replace them decrypted files EfLC.
It should be noted that the files you are working with and in which the data is stored hire (handling.dat, carcols.dat)should be taken out of read-Only attributes».
P.S. similarly, described above, are replaced weapons, clothes and other textures and models.
If you still have any questions on installing machines and other mods in GTA 4, please ask them in the comments.