 How to work with texture TXD files
Hi everyone! Are you BADIkPAN of Studios "Silent World Game"
And this article is about - working with "TXD" and replacing textures in the program TXD Workshop.
1. What do we need?
-
TXD Workshop program (Any version)
-
Paint.NET program (Any version)
- Any TXD file (Cars, helicopters, boats etc.)
2. Getting Started!
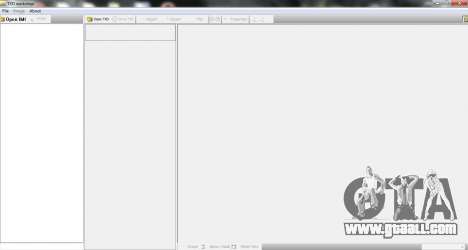
Launch TXD Workshop.
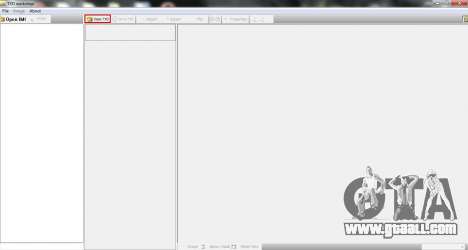
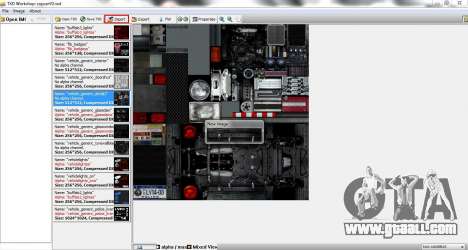
Click "Open TXD" button.
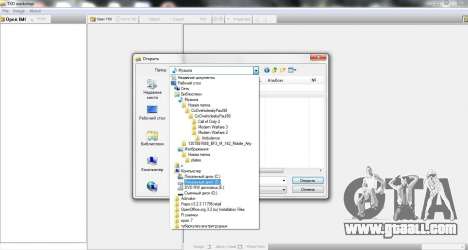
Next, choose our "TXD" file.
For example: Buffalo from GTA 4 TBoGT
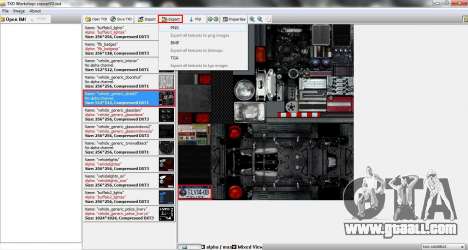
Once you have opened the "TXD", locate the texture where the license plate. Then click on the button "Export" and throw our texture to any folder.
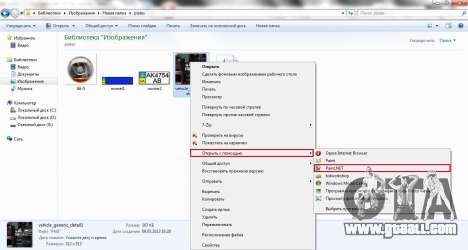
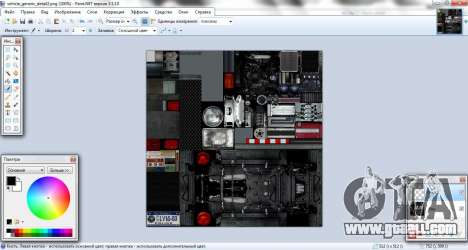
Further, we find that texture and right click on it. "Open With -> Paint.NET". Now we need Paint.NET.
Do not forget to download the photo number or make it!
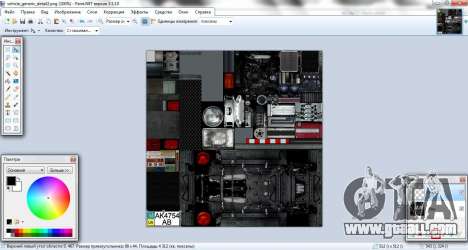
In the program, click the "New Layer."
Now we have to adjust our room number under which the texture. Once you have adjusted, merge layers.
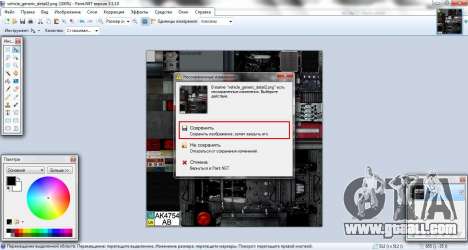
Save.
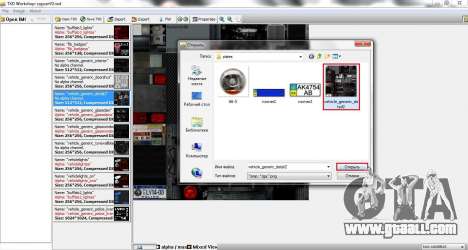
Again we go to the TXD Workshop and click on the "Import".
Choosing our texture.
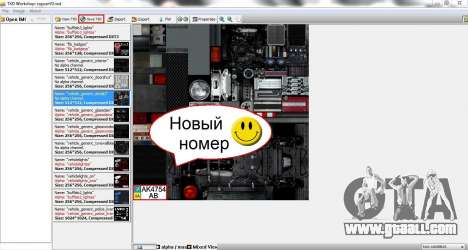
The texture changed! Now you have to save it all, for this click on the button "Save TXD".
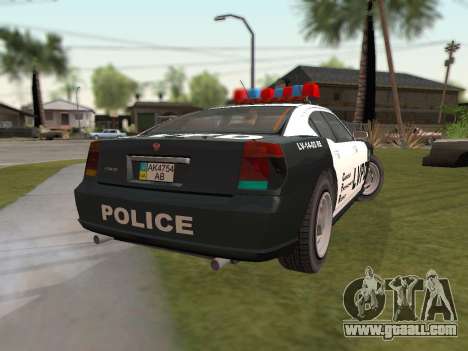
That's how it looks in the game!
And with you all this time was BADIkPAN. I hope you will help! Thank you for viewing this article! Enjoy the game!

